Dual 800k 1987 Macintosh SE Restoration:
Introduction
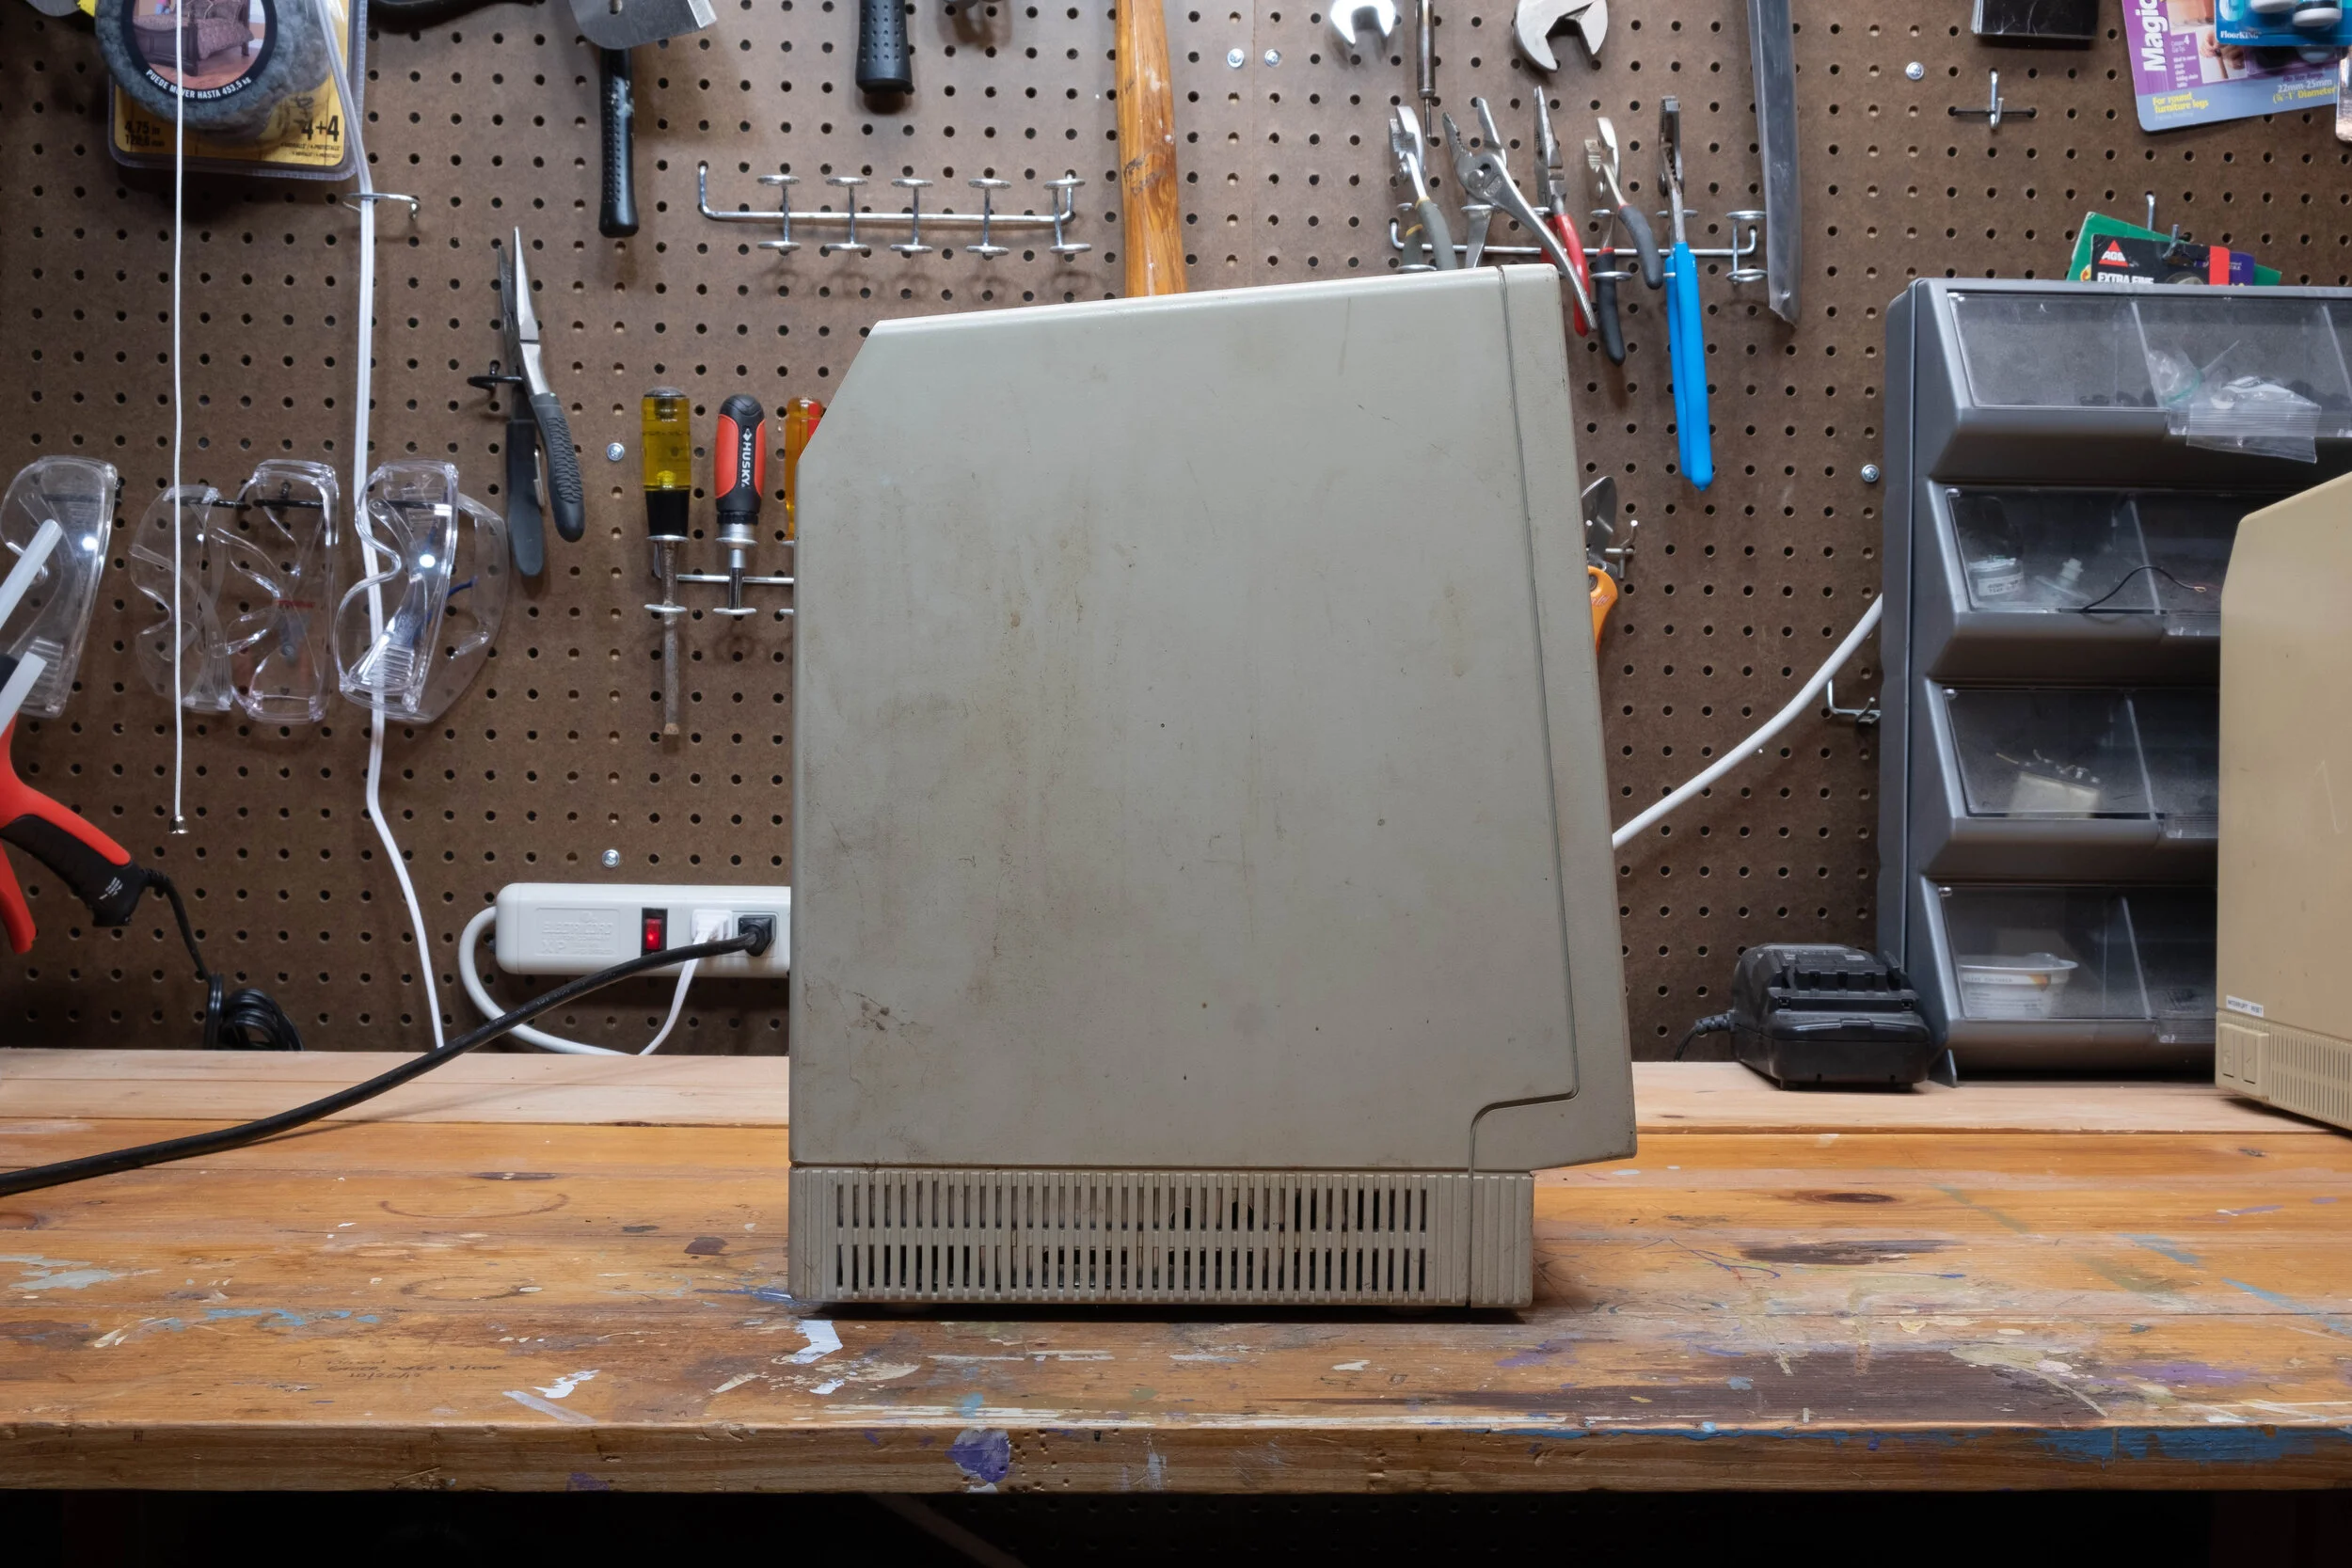
After several years of tinkering with a very uncooperative Macintosh SE/30, I finally came to the conclusion that I needed a fresh machine to work on. With a fresh machine, I would finally get the chance to restore a Macintosh to flawless condition. In September 2019, I was incredibly excited to acquire this particular Macintosh SE for the bargain price of only $16! The computer itself was fairly filthy, but it was otherwise in quite good condition (aside from a ruined Apple Badge on the front). Determined to restore my new computer to its former glory, I began a lengthy restoration process.


Taking the back off the computer:
The Macintosh SE is held together with four Torx T15 screws. There are two silver screws inside the handle, and two black screws near the ports. Because the screws in the handle are recessed, a special extra-long Torx driver is required to reach them. After I removed all four screws, I could lift off the back case off of the computer.


Discharging the CRT
The CRT Monitor inside the Macintosh uses thousands of volts of electricity when powered on. Unfortunately, the computer can hold a residual electric charge even after it is unplugged from the wall. As it would be very painful (if not deadly) to accidentally let thousands of volts flow through my body, it is very important to discharge the CRT before doing anything inside the Macintosh. This is a very simple procedure. The rubber anode cap on the back of the CRT has a metal clip inside of it. This clip needs to be connected the CRT’s ground in order to dissipate the electric charge. I accomplished this by inserting a flat blade screwdriver with an alligator clip connected to ground underneath the cap. I released the metal clip to remove it from the CRT. After this, the computer was safe to work on.


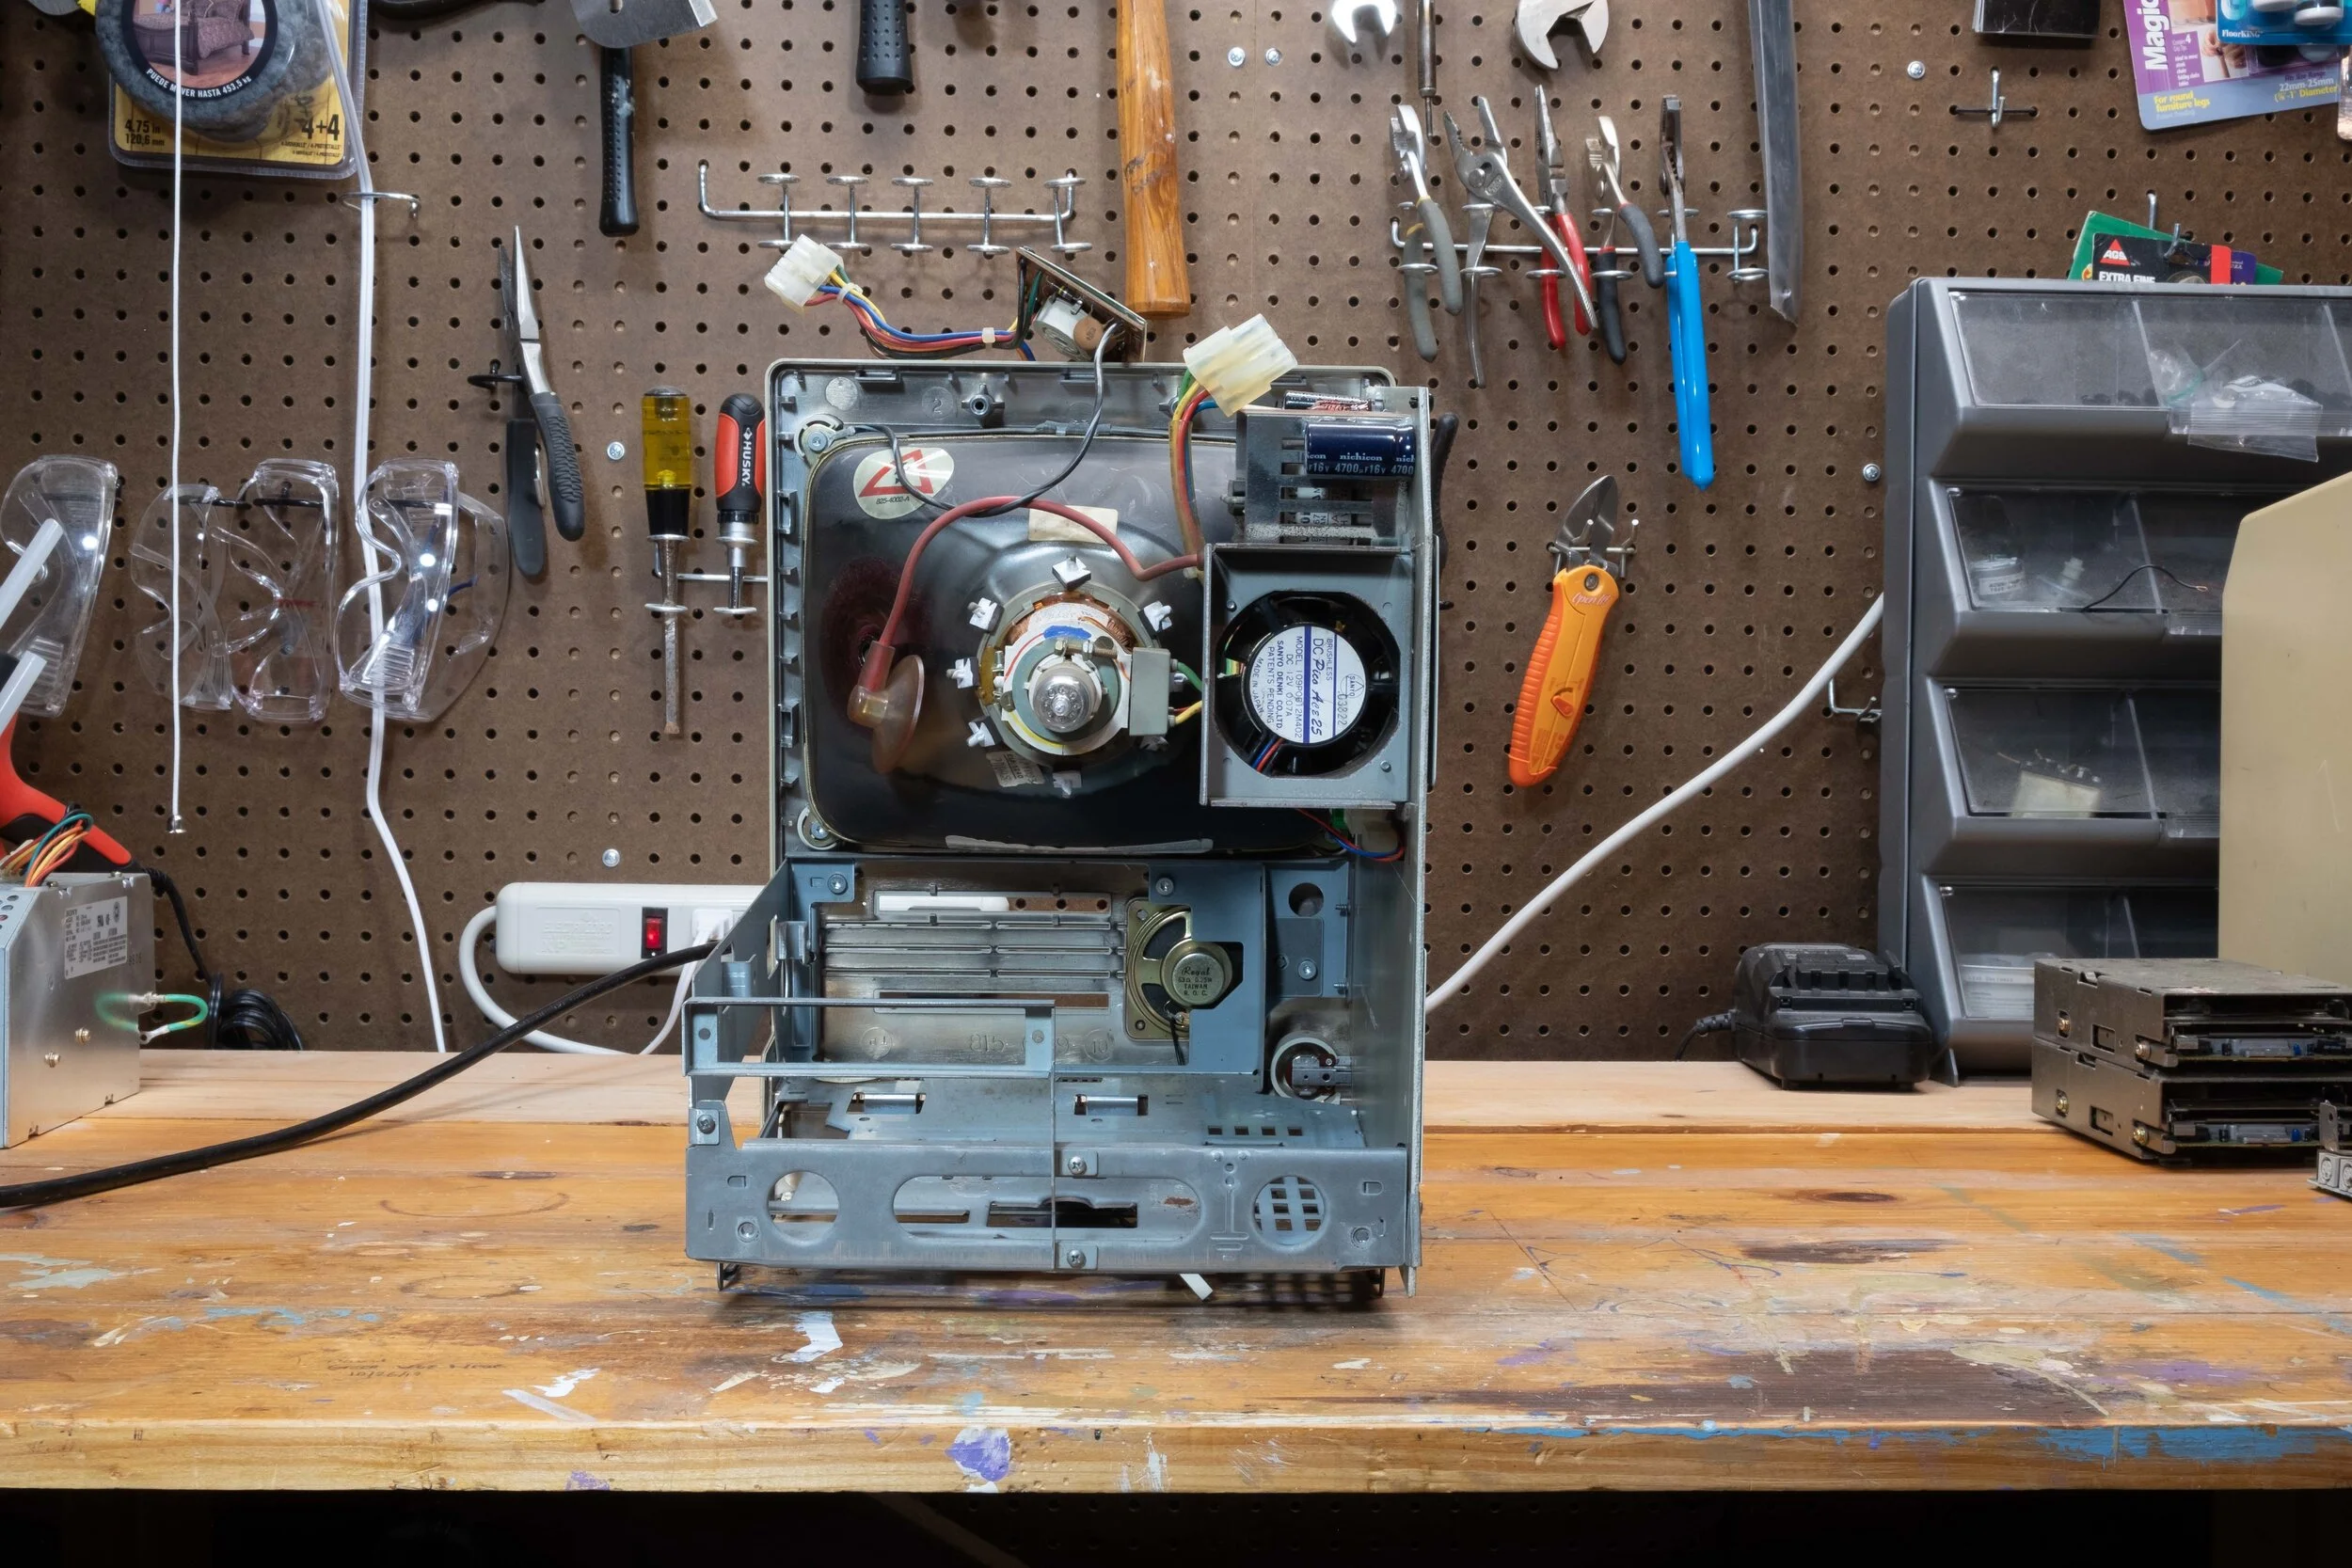
Removing the Logic Board
Now that the CRT was discharged, I could begin the real restoration work. I needed to remove the logic board from the computer first, as it is connected to many other components. I began by removing the silver shielding material from the bottom of the computer. (The shielding’s job is to protect the computer from radio interference.) I then unplugged the power supply/video connector as well as the floppy drive connectors from the motherboard. After everything was unplugged, I was able to swing the motherboard out of the housing. (There are a series of notches on the right of the motherboard which hold it in place -lifting the board a few centimeters brings them into alignment with corresponding notches on the metal chassis. Once the notches are aligned, the motherboard can swing out of the computer.) I then unplugged the speaker from the motherboard, and it was finally free, likely for the first time in over thirty years.


The Logic Board
The Macintosh SE is powered by a Motorola 68000 processor running at 8MHz. It is the largest chip on the board. The SE in the computer’s name stands for system expansion, and as you can see, there is an expansion connector on the far right side of the motherboard. Towards the bottom of the board are the four RAM sockets. The system architecture of the SE supports a maximum of 4MB of RAM. There are connectors for two floppy drives, in addition to SCSI for a hard drive. At the top of the board are the ports. From right to left, there are two serial ports for networking and printers, an external SCSI port for a CD drive or Hard Disk, an external floppy drive port, and two ADB ports for a keyboard and mouse.
The logic board was quite dirty when I first removed it. I gave the entire thing a scrub with a toothbrush soaked in isopropyl alcohol to remedy this problem. The motherboard had a small 1/2 AA battery installed -this was used to power the clock while the machine was not turned on. The battery was obviously long gone, so I cut the leads holding it in and I removed it from the logic board. I then soldered in a new reusable battery holder, and I installed a brand new battery. There were four 256KB RAM SIMMs already installed, totaling 1MB. I upgraded these with four 1MB SIMMs so that the computer had 4MB of RAM instead.

Lubricating the Floppy Drives
This Macintosh contains two floppy drives, each supporting 800k Double Density Floppies. (Unfortunately, 1.4MB high density floppy disks are incompatible by default.) These drives were both very dirty and likely non-functional. (I say likely non-functional, as testing them without prior servicing could cause serious damage.) There were several screws underneath the motherboard which secured the floppy drives in place, so I removed them in order to gain access to the mechanisms. As the grease lubricating the drives was over thirty years old, it had ceased functioning as intended, and it had become stiff and gummy. In order to make the floppy drives functional again, I needed to remove them from the Macintosh, disassemble them, clean up the old grease, add new grease, clean the Read/Write heads, and put them back together again. Whew! That was a lot of work! Luckily, there are many guides available on YouTube which explain this process in detail.


Power Supply and Analog Board Recapping
Most electronics of this vintage contain electrolytic capacitors all over their circuit boards. These capacitors have a finite life span, and unfortunately they are also filled with a corrosive fluid. The electrolyte fluid can destroy circuits if it leaks onto them, so it is important to replace capacitors before this happens. Depending on the variant of electrolytic capacitor and its quality, most of these need to be replaced in order to have a stable and functional computer. The computer’s power supply (the silver box with an electrical plug on it) used dozens of capacitors, most of which had already leaked. I removed the PSU from the computer, and desoldered each capacitor from the circuit board inside. I then cleaned up the electrolyte that they had leaked everywhere, and I installed brand new replacement parts. I repeated this process for the computer’s analog board, which had the same problems. I also replaced the fan with a quieter brand-new one at this time. The analog board (the vertical circuit board connected to the power supply) is responsible for controlling the CRT monitor. I followed instructions for these recapping procedures on YouTube from these links:
The videos were very helpful and thorough. They also included lists of parts to buy, which made things much easier for me. I highly recommend them!


Cleaning… Cleaning… Cleaning…
Now that all of the major components had been serviced, it was time to start cleaning the computer! The photographs I have taken do very little to communicate the grimy feeling everything in the computer had. It was absolutely filthy! When I first got this computer, there was even a bit of mud stuck to it, but obviously I had to clean that off before bringing it inside. I disassembled the remainder of the chassis, so that I could separate the front plastic of the computer from the metal framework. Once the front plastic was free, I used a knife to cut the melted plastic holding the speaker in place. I also took this oportunity to remove the damaged Apple Logo from the front case. (There is a small hole inside the front panel where a paper clip can be inserted, and this pops the badge out.) After this, I placed the entire plastic housing into the sink, and I gave it a really good scrub with hot, soapy water. I used paper towels soaked in isopropyl alcohol to clean the rest of the computer. I wiped down every wire, connector, and surface (essentially anything I could scrub without damaging). There was so much dirt, several paper towels turned jet black. I used a magic eraser to remove some stubborn dirty patches that water and alcohol could not clean. After everything dried, I put the computer back together again. Everything looked so much better once it was clean!


“Retrobrite-ing”
Even though the computer was now clean, the plastic case was very yellow in comparison to how it looked when it was new. This was due to a chemical reaction involving bromine fire-retardant in the plastic and heat. In order to make the computer the same platinum color it was originally, I decided to “Retrobrite” it. This process bleaches the plastic and restores the original color. In order to Retrobrite the computer, I filled a large plastic tub with hot water and lots of hydrogen peroxide. (12% peroxide is sold by the gallon for cleaning swimming pools) I then placed two 60 watt UV light panels over the tub, and let the computer sit for about a day. The hydrogen peroxide and UV lights caused the plastics to return to their original color. The computer was looking fantastic by this point! I carefully reassembled the Macintosh and tried it out. Everything was working perfectly.


SCSI2SD
Unfortunately, this model of computer had no internal hard drive installed by default, so I had to boot from a Zip Disk every time I wished to use the computer. This process was getting tedious, so I decided to install a hard drive. As actual vintage hard drives are failing at a rapid rate due to their advanced age, I opted to instead to use a modern alternative called the SCSI2SD. The SCSI2SD is a $60 hard drive emulator. It plugs into the original SCSI socket on the motherboard, but it uses a modern SD card instead of spinning metal. While a real hard drive in 1987 might have only had a capacity of 20MB, I installed a 16GB MicroSD card into the computer as it was hard to find anything smaller. This tiny MicroSD card was several orders of magnitude larger than the drives available 33 years ago, not to mention much faster and cheaper! Configuring a SCSI2SD can be a fairly complicated process -much too long to cover here. Luckily, there are already many high quality resources online detailing the process. I followed this guide, with great success. I also 3D printed a bracket to hold the circuit board in place, so that it was not floating around the computer.
The Final Results (Don’t worry, I replaced the Apple Logo!)
After all of this work, the computer was finally complete! Everything worked perfectly, and the machine looked almost mint. I was very happy with the Macintosh, and I spent many hours enjoying it. Here are photographs of the finished product. I couldn’t be happier with the way everything turned out!


