Building a working HAL 9000 Replica
Introduction
I’ve long been a fan of the movie “2001: A Space Odyssey”, especially the futuristic design of the evil supercomputer HAL 9000.

DIY HAL 9000 Replica
Inspired by several other replicas of this prop already documented online, I decided to build my own 3D-printed HAL 9000 with a unique twist. Almost all of the HAL 9000 replicas I came across in my research could only play back prerecorded lines from the movie, but I wanted to be able to talk to HAL 9000, just like in the film. For this, I would need some sort of computer running AI to be crammed inside of the prop.
While it was common a few years ago to use a Raspberry Pi running either Google Assistant or Amazon Alexa software for this type of project, neither of these APIs remain viable options as their functionality has been greatly restricted for non-commercial projects or discontinued altogether.
Searching for a suitable brain for HAL 9000, I decided the best course of action would be instead to disassemble and reverse-engineer an Amazon Echo dot and rewire it to my specifications. I had a few unused Amazon Echo Dots (2nd generation) collecting dust in a drawer, so I set to work cracking one open and inspecting its circuit boards under my microscope.
3D Printing and Assembly
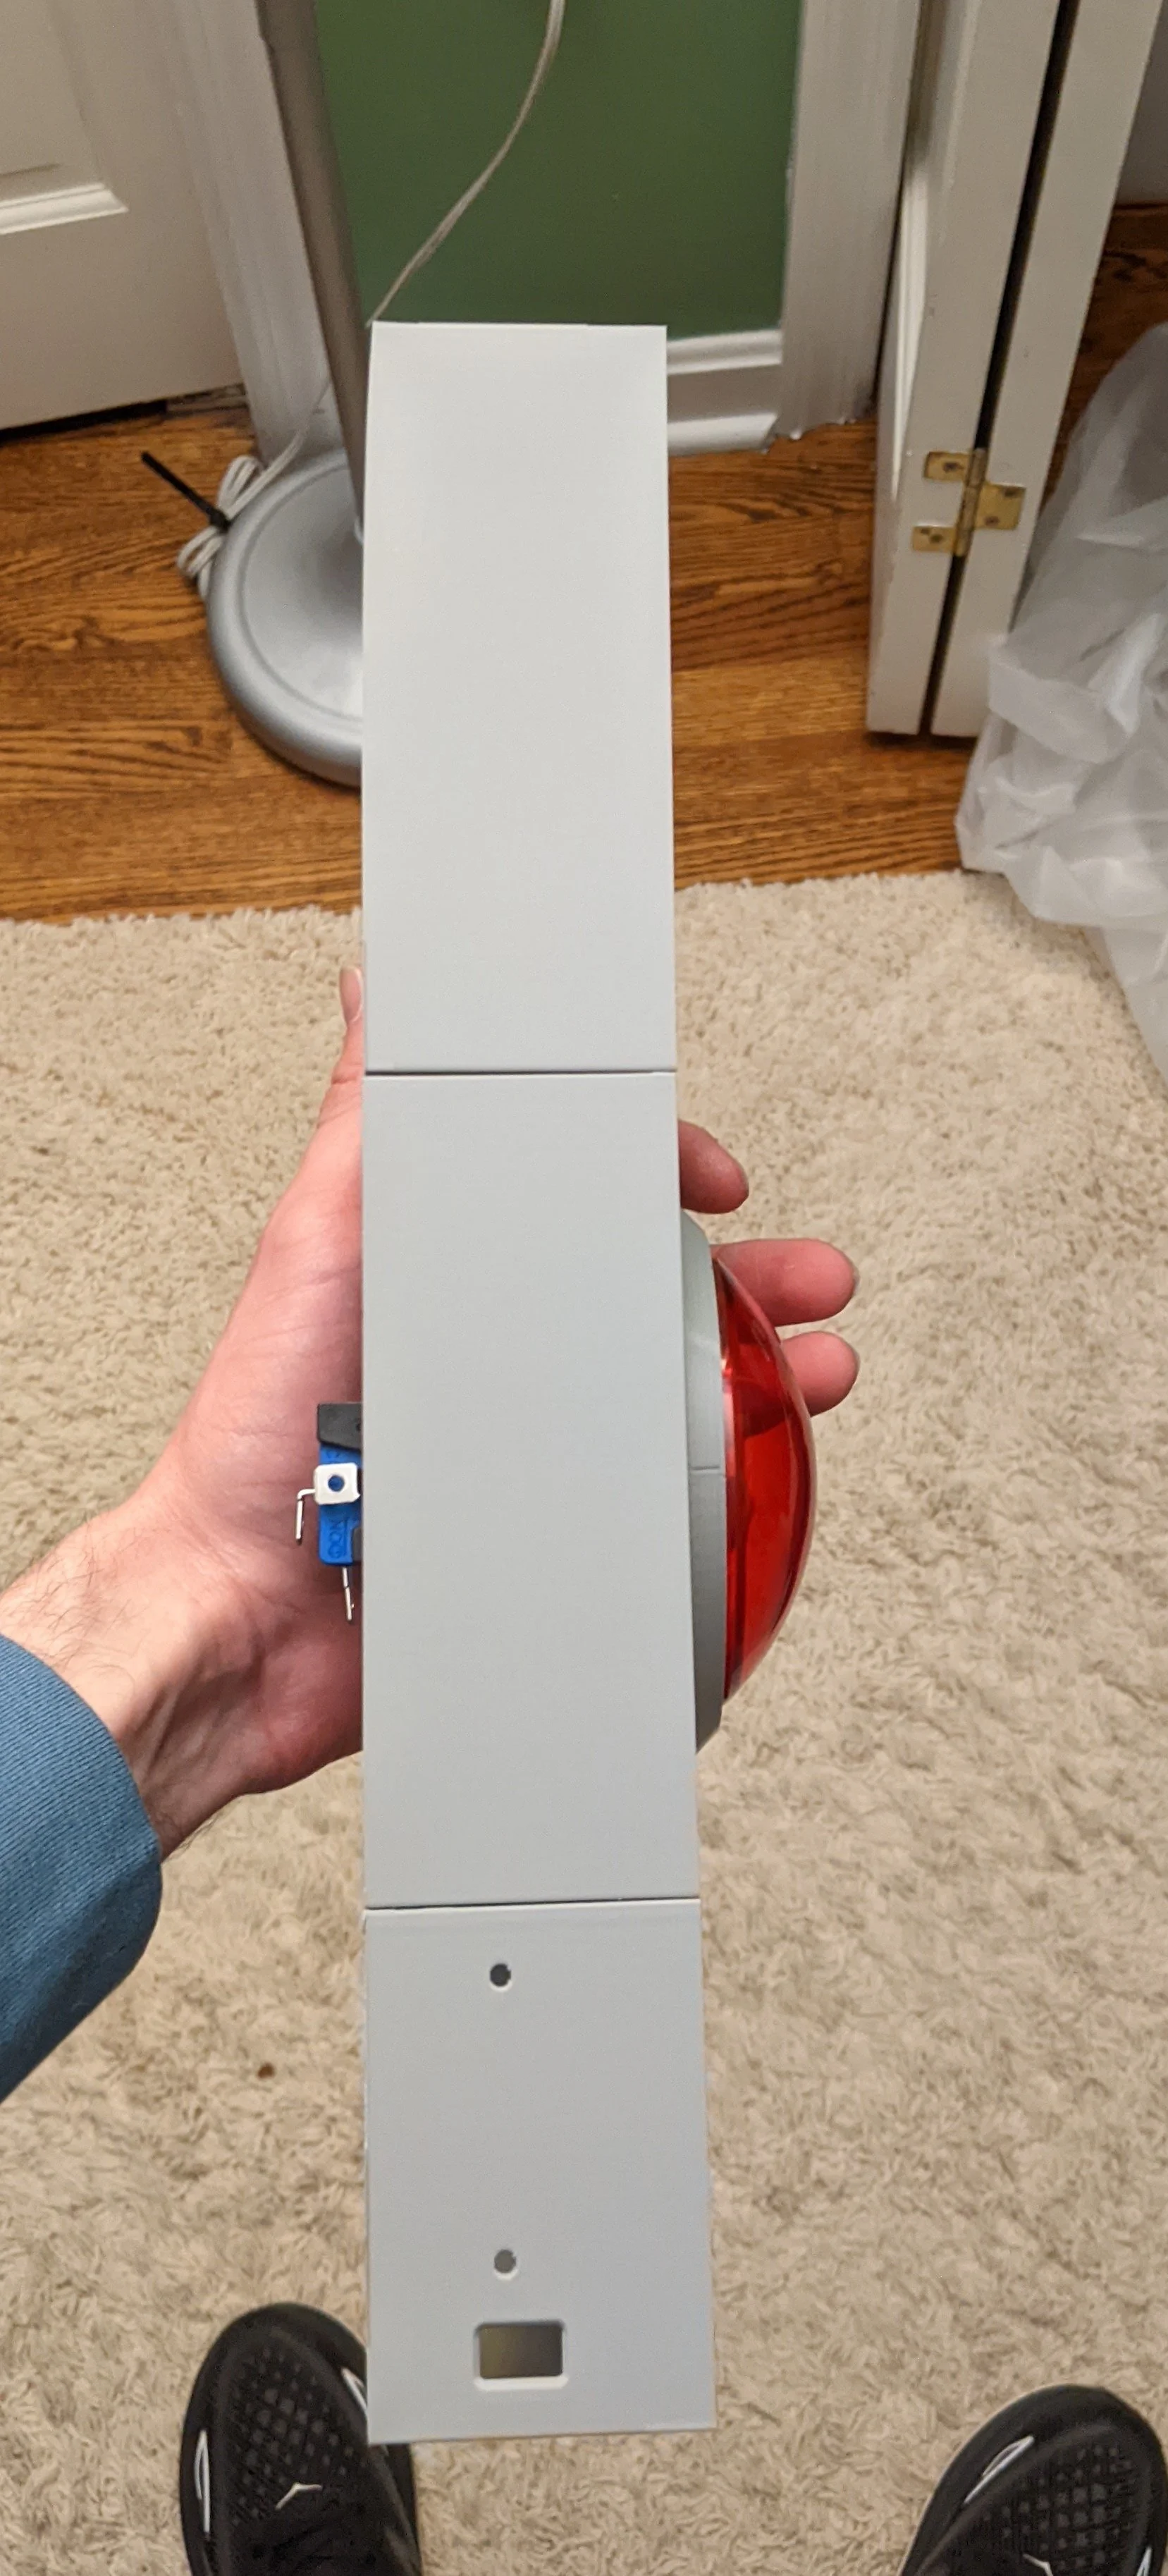
Like many other replica-builders, I used an oversized arcade button from adafruit.com as the eye/lens for my project. I also decided to 3D-print much of the physical prop using plans provided by Adafuit. While I appreciated the 3D models, I had to modify them to suit my needs. One major issue with the models is that they lack sufficient depth to fit the arcade button and keep it in line with the back of the chassis. This flaw prevents a flush-mounted back cover from being installed. Despite this problem, I found the models simple to print and very authentic to the movie prop especially considering their relative ease of fabrication. Using my college makerspace’s Bambu X1 Carbon 3D printer (with AMS) meant I could print the prop using several colors of filament without needing to change spools manually.


Although Adafruit’s original plans call for very small metric screws, the hardware store didn’t carry them. To get around this issue, I simply drilled out the screw holes and used some appropriately-sized imperial screws. This solution had the positive side-effect of making the whole prop much stronger and more rigid than it would have otherwise been with smaller screws.
As added insurance that the completed prop wouldn’t tip over when standing vertically, I opted to use Command strips to secure it to my table. Once I rebuild the prop with a flush back cover, I will likely use Command strips to wall-mount it instead.
Modifying an Amazon Echo Dot
Within the Echo Dot, there are four main components. There are two circuit boards: the lower PCB contains the processor and power electronics, and the upper PCB contains the microphone array, LED ring, and push-buttons. There is also a metal heat sink/chassis, and a speaker module.


As every good HAL 9000 replica has a glowing red LED in the middle of the “eye” lens, I decided to tap power directly from the Echo Dot’s logic board to run my prop’s LED. I was torn between two choices: making the LED pulse with the speech of the Amazon Echo vs leaving it on constantly, but I eventually decided that I preferred the look of the LED when it stayed on constantly.
Under my microscope, I carefully soldered several extremely thin wires to key traces throughout the Echo Dot. Near the USB power input, I tapped into 5V and GND so that I could power the glowing red LED. I ran extension wires for the existing speaker module so that it could be relocated to HAL 9000’s speaker grille. I used a small hacksaw to trim away unneeded structural plastic from the speaker so that it fit better inside the tight 3D printed prop. I also connected wires to the Echo’s “action button” so that it could be triggered externally by the red arcade button.


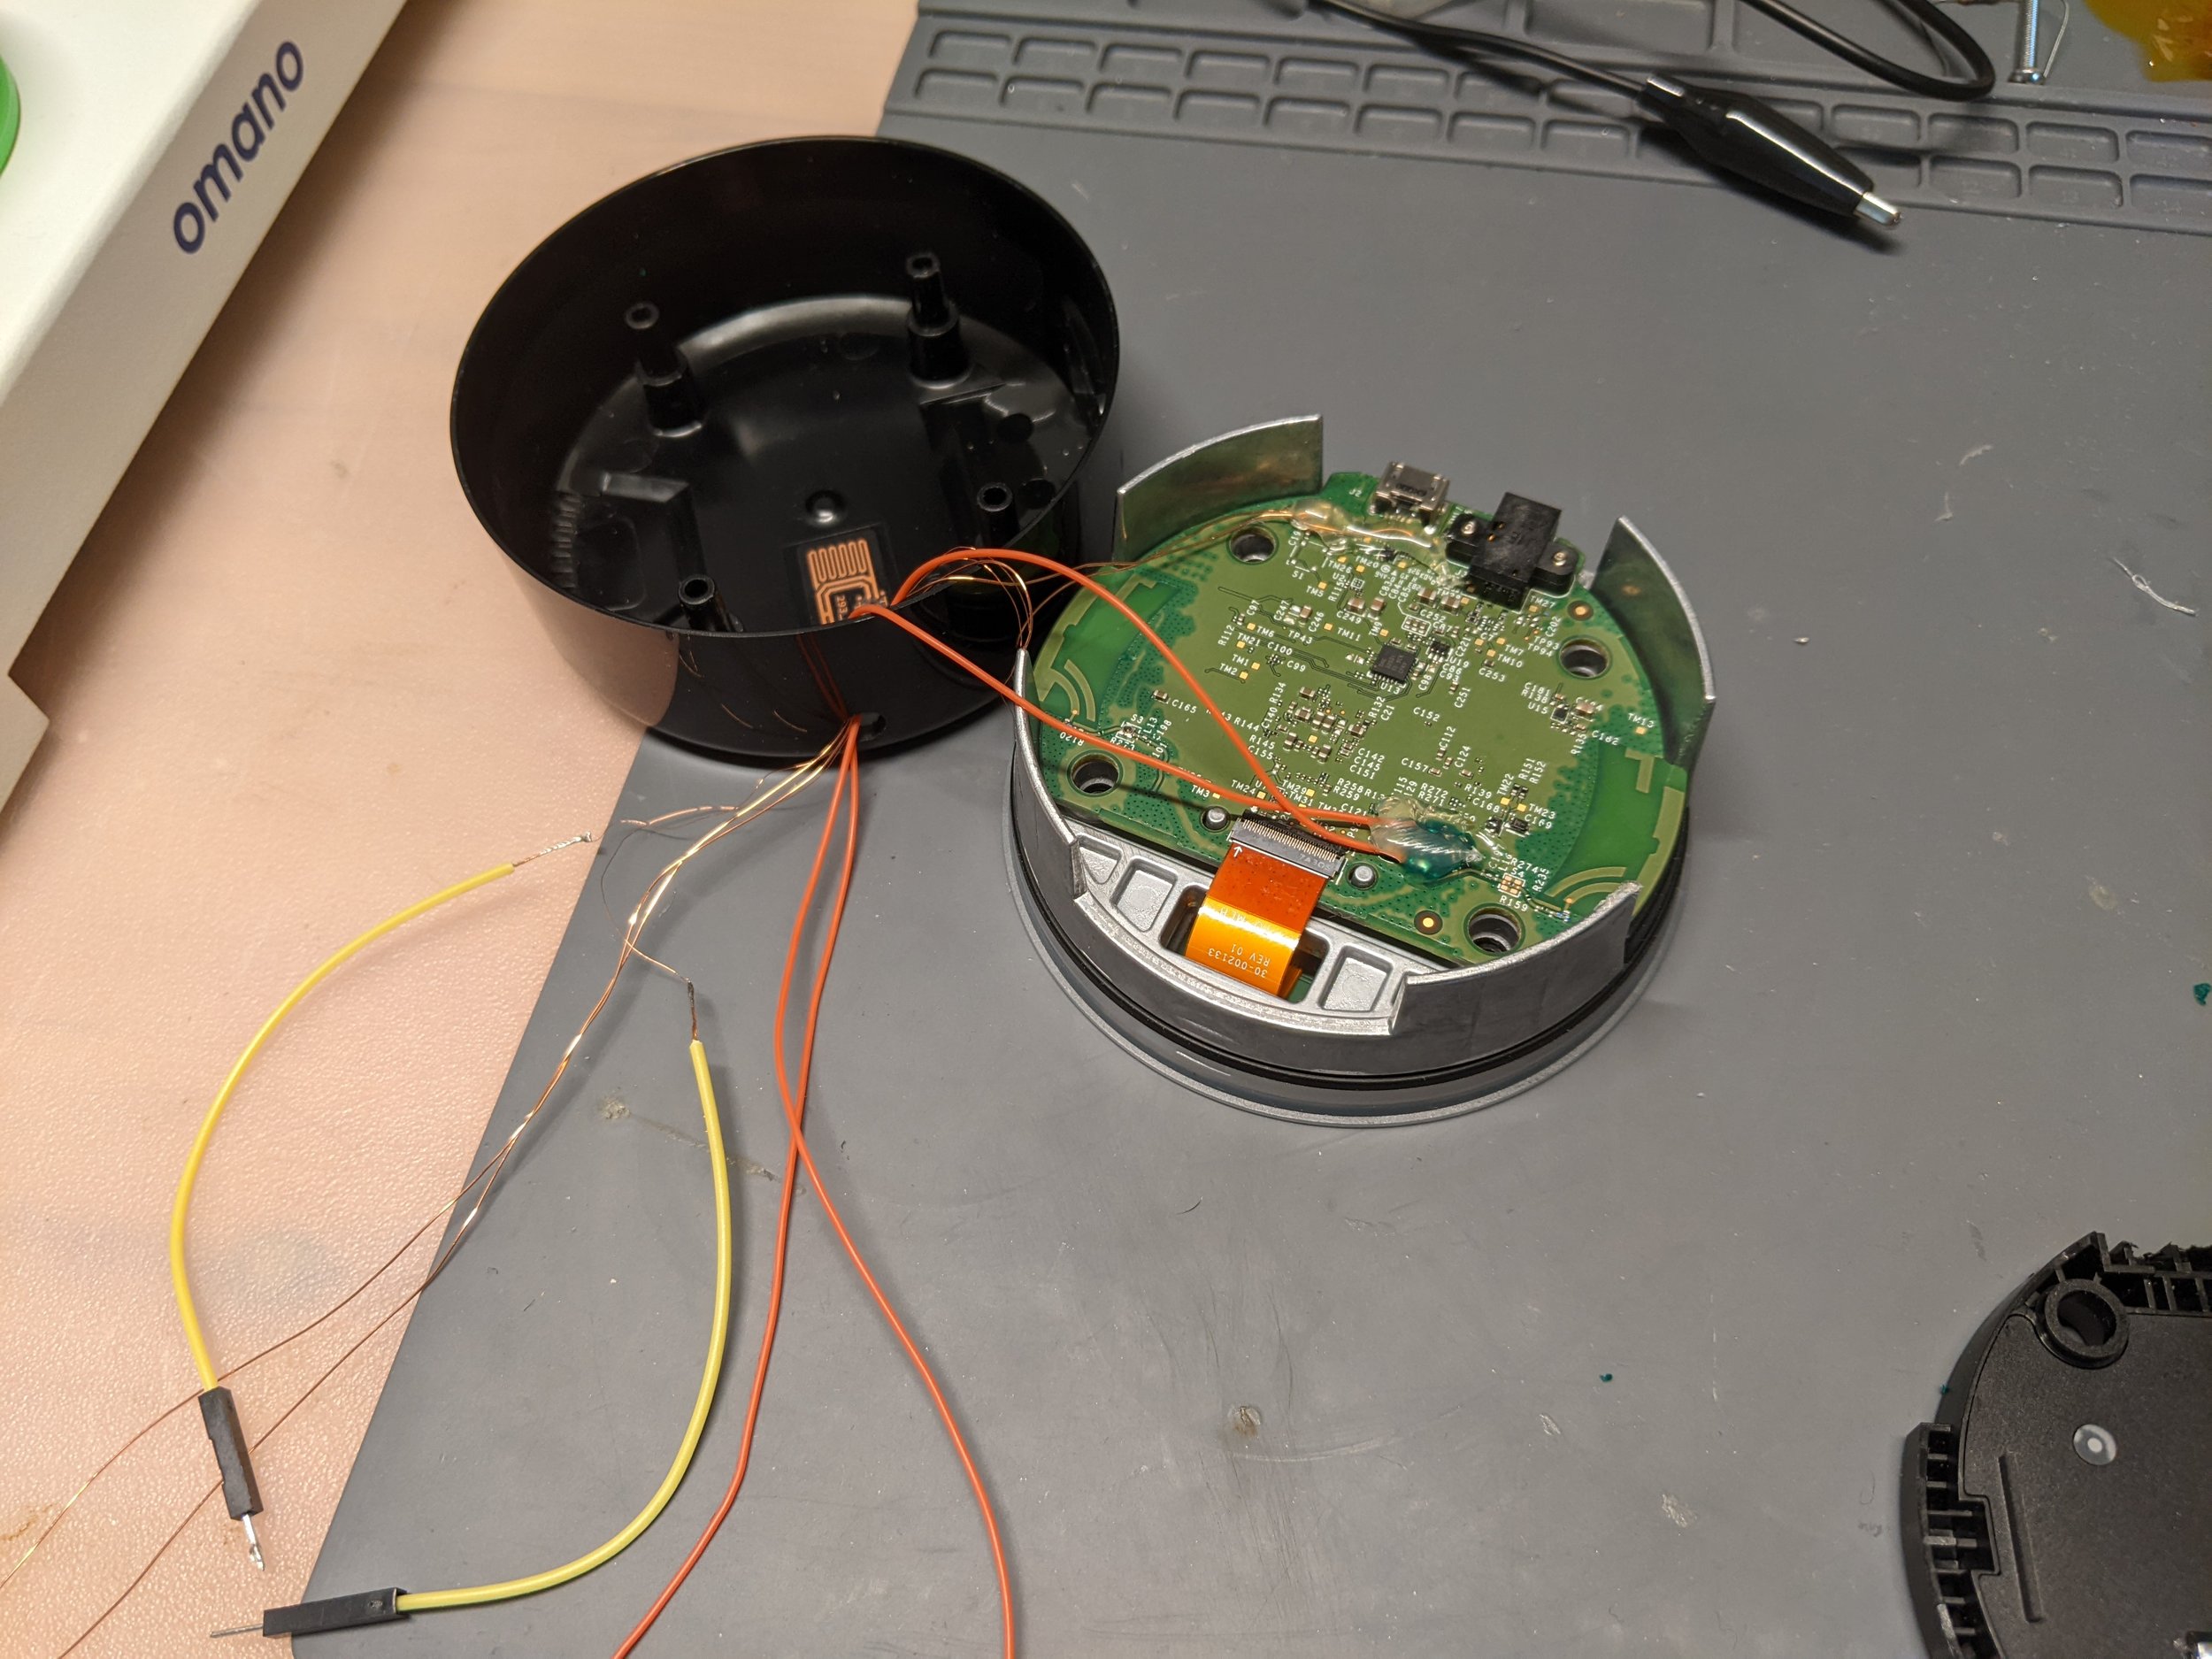
Before partially reassembling it, I drilled a hole through the plastic side of the Echo Dot so that my extension wires could be routed externally.
An important detail to note is that this Adafruit’s giant arcade button is intended to be run off of 12V power. This results in an extremely dim LED when used with 5V power. I disassembled my button and replaced the LED’s resistor with a much lower value so that I could significantly brighten the LED.
Software Changes:
I made several changes to the Echo Dot to make it more closely resemble the movie. First, I changed the default female voice to a male voice. I also played around with the pitch settings in the Alexa app. I installed some software that played HAL 9000 related lines from the movie, although I wasn’t terribly impressed with its limited functionality. I may code my own Alexa skill to do a better job at this.
The most important feature of the project works as intended: a prompt of “Open the Pod Bay doors, HAL” results in a reply of “I’m sorry Dave, I’m afraid I can’t do that.”
Future plans:
Going forward, I hope to modify this project to use OpenAI’s GPT-4. I believe that this will make for a better HAL9000 simulation, as unlike the current Amazon Echo, I would be able to prompt the language model to more closely mimic the mannerisms of HAL9000 (I would program it to be much less evil however!). I would also connect the chatbot’s output to an AI voice model trained on the HAL 9000’s voice audio clips from the movie.
I may revisit this project at a later date and add a slight “breathing effect” to the LED, similar to that of older iBook status LEDs.
Lastly, the HAL 9000 STL files I used from adafruit.com neglected to account for the depth of the microswitch at the back of the arcade button. I have some improved 3D models which account for this problem, but I have yet to disassemble and rebuild my project using them instead.